Create a MinIO instance
-
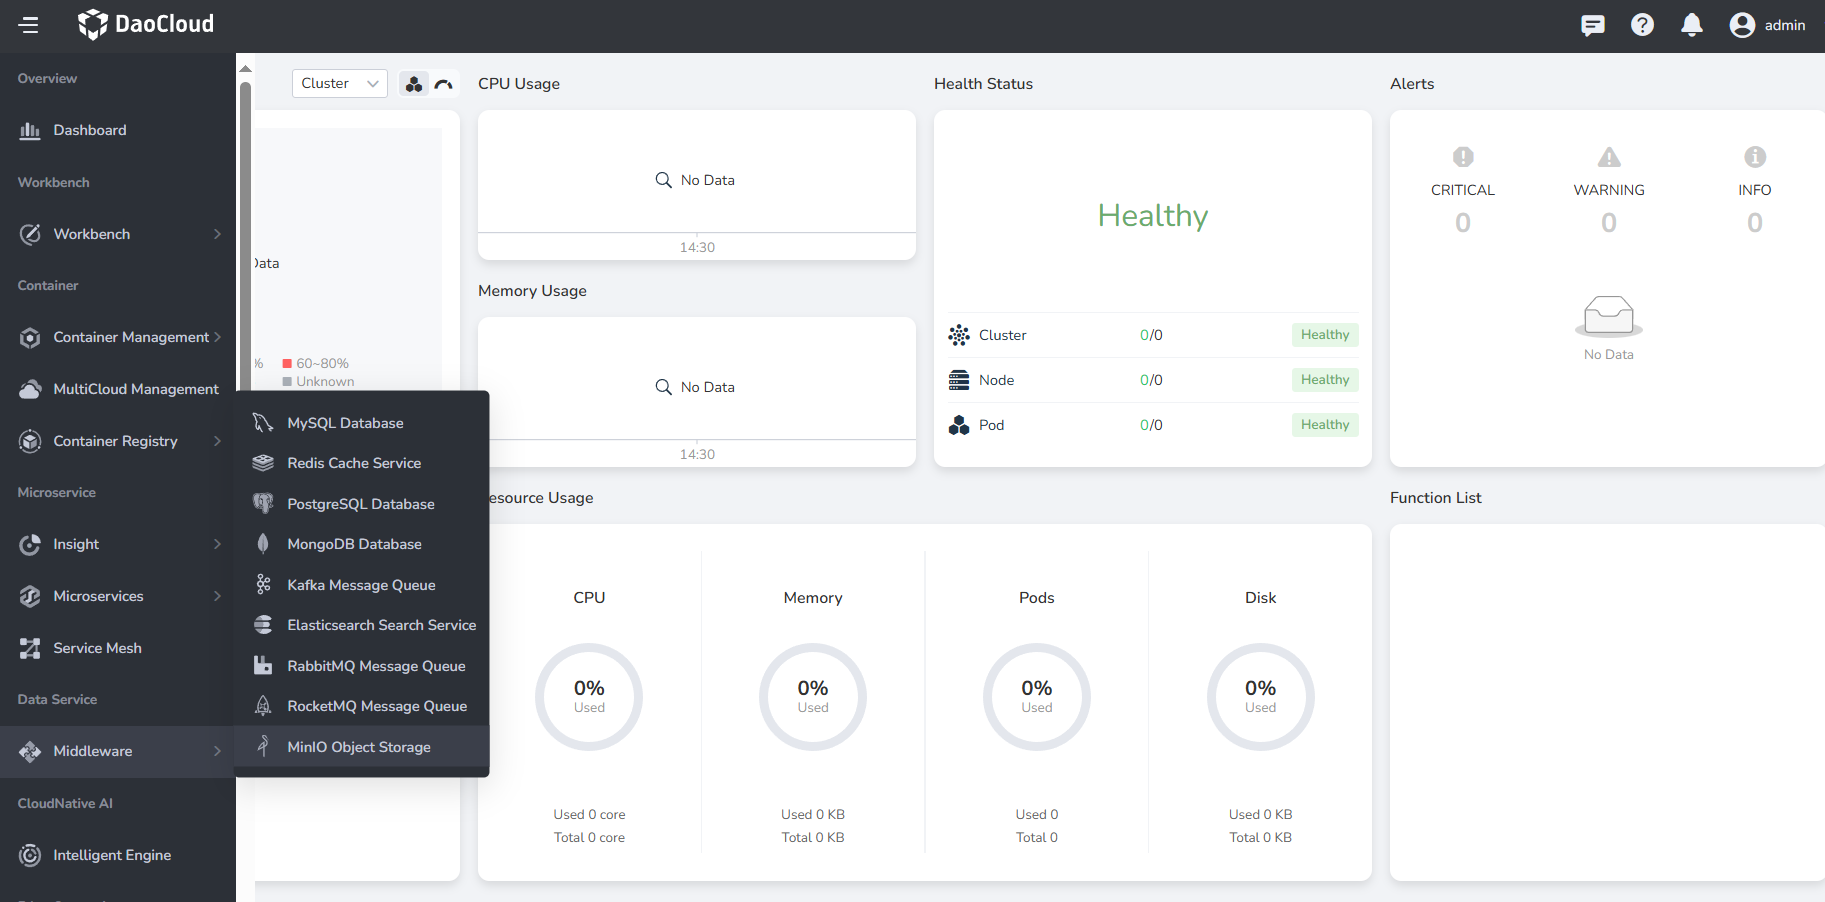
Select MinIO Object Storage from the navigation bar on the left.
-
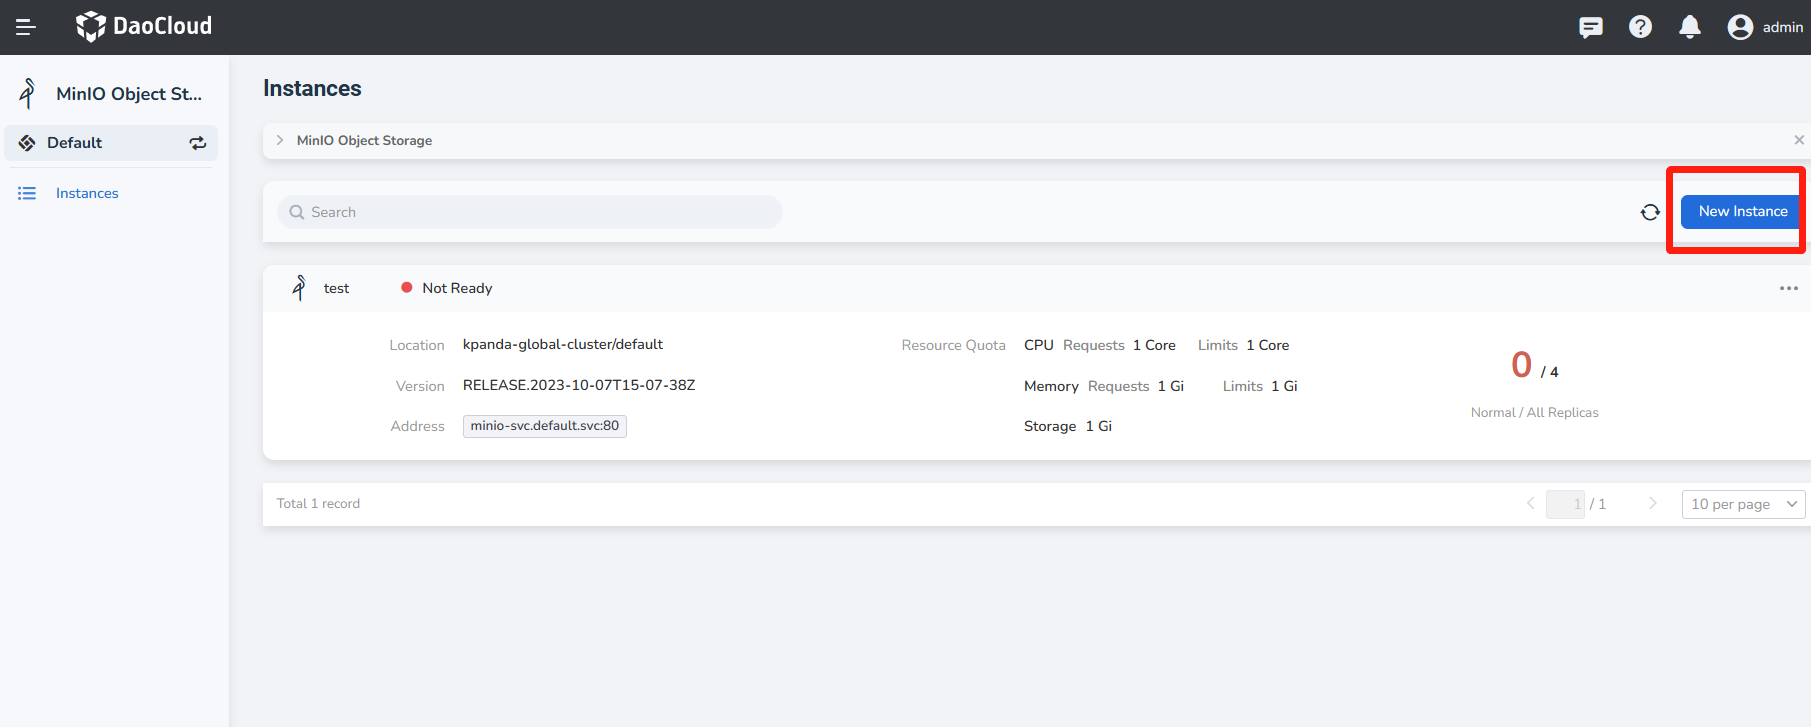
You can click the New Instance button in the upper right corner of the list.
If you are using it for the first time, you need to select a workspace and click Deploy Now to create a MinIO instance.
-
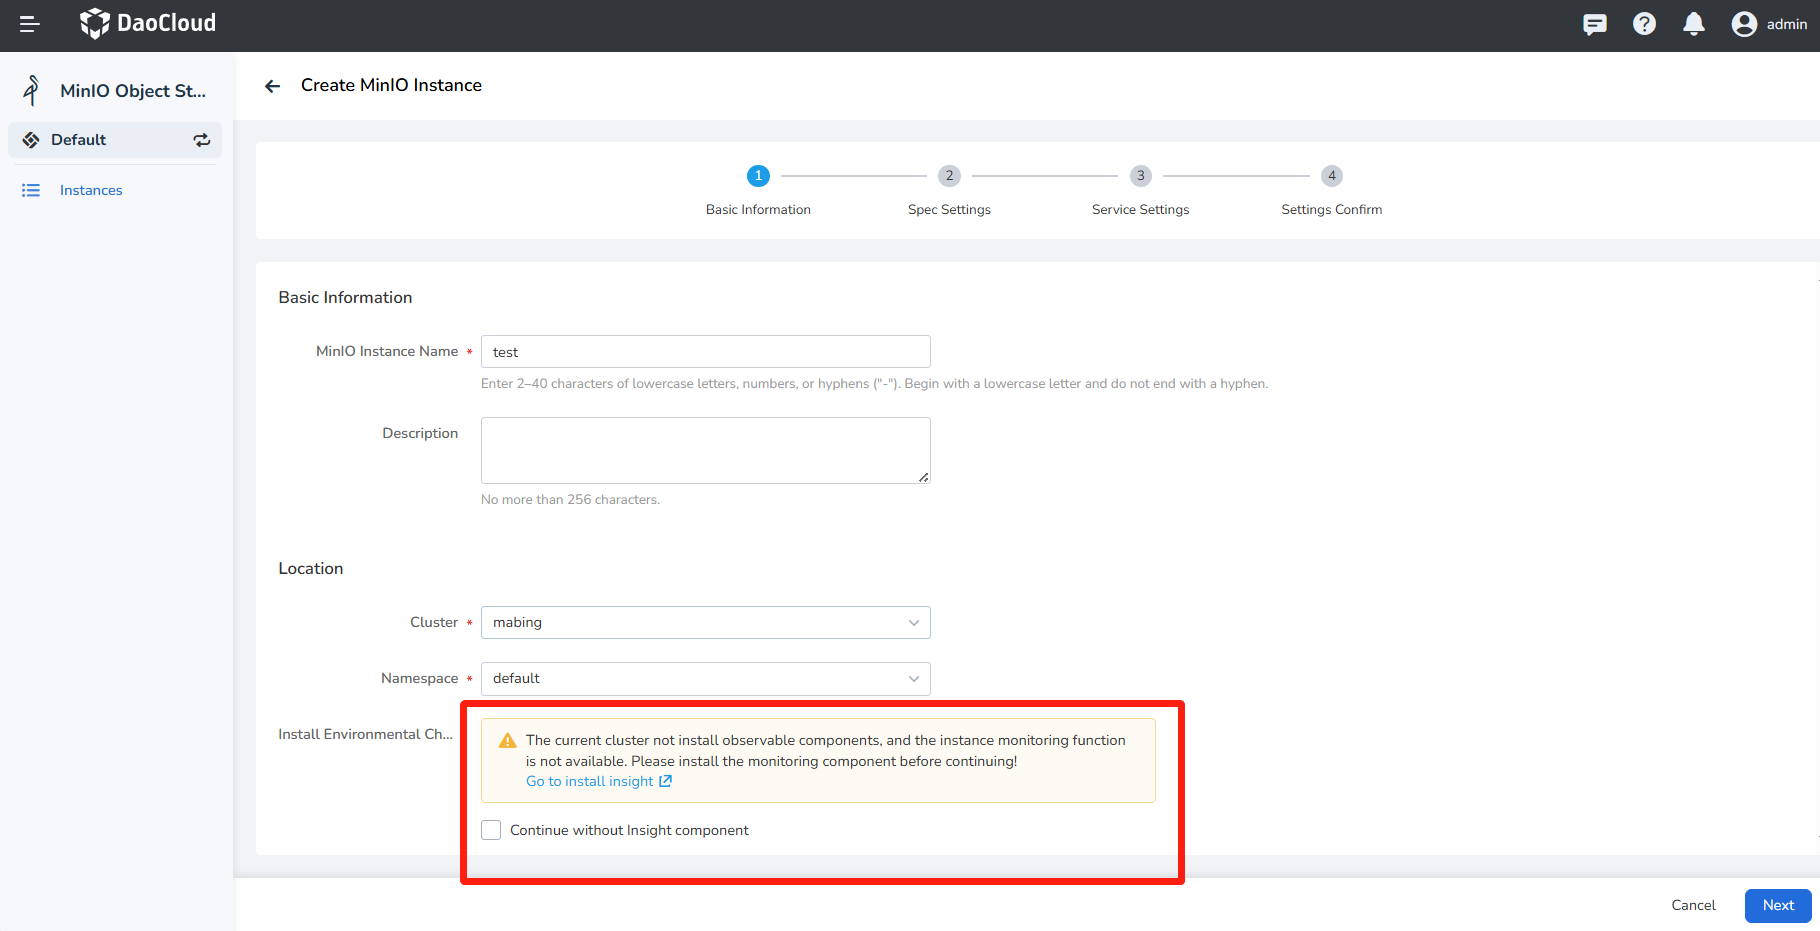
Fill in the basic information of the instance by referring to the information below, and then click Next .
Note
- The instance name and cluster/namespace cannot be modified after the instance is created.
- Pay attention to check the filling requirements below the input box, and enter the content that meets the requirements.
- If the installation environment test fails, you can follow the prompts to install the relevant plug-ins and re-create the instance, or you can check Continue without Insight component and proceed directly to follow-up operations.
-
Fill in the configuration specifications with reference to the information below, and then click Next .
- Deploy Mode cannot be changed after the instance is created.
- High Availability is recommended in production mode.
- At least 4 Replicas are required in high availability mode.
- Storage Class indicates that the selected storage class should have enough available resources, otherwise the instance creation will fail due to insufficient resources.
- Storage capacity shows how much capacity each disk has. It cannot be lowered after instance creation.
- Disks per Replica shows how many secondary disks to provide for each copy. It cannot be lowered after instance creation.
Warning
After a MinIO instance is successfully created, scaling replicas and modifying disk usage are not supported. Please configure resources carefully.

-
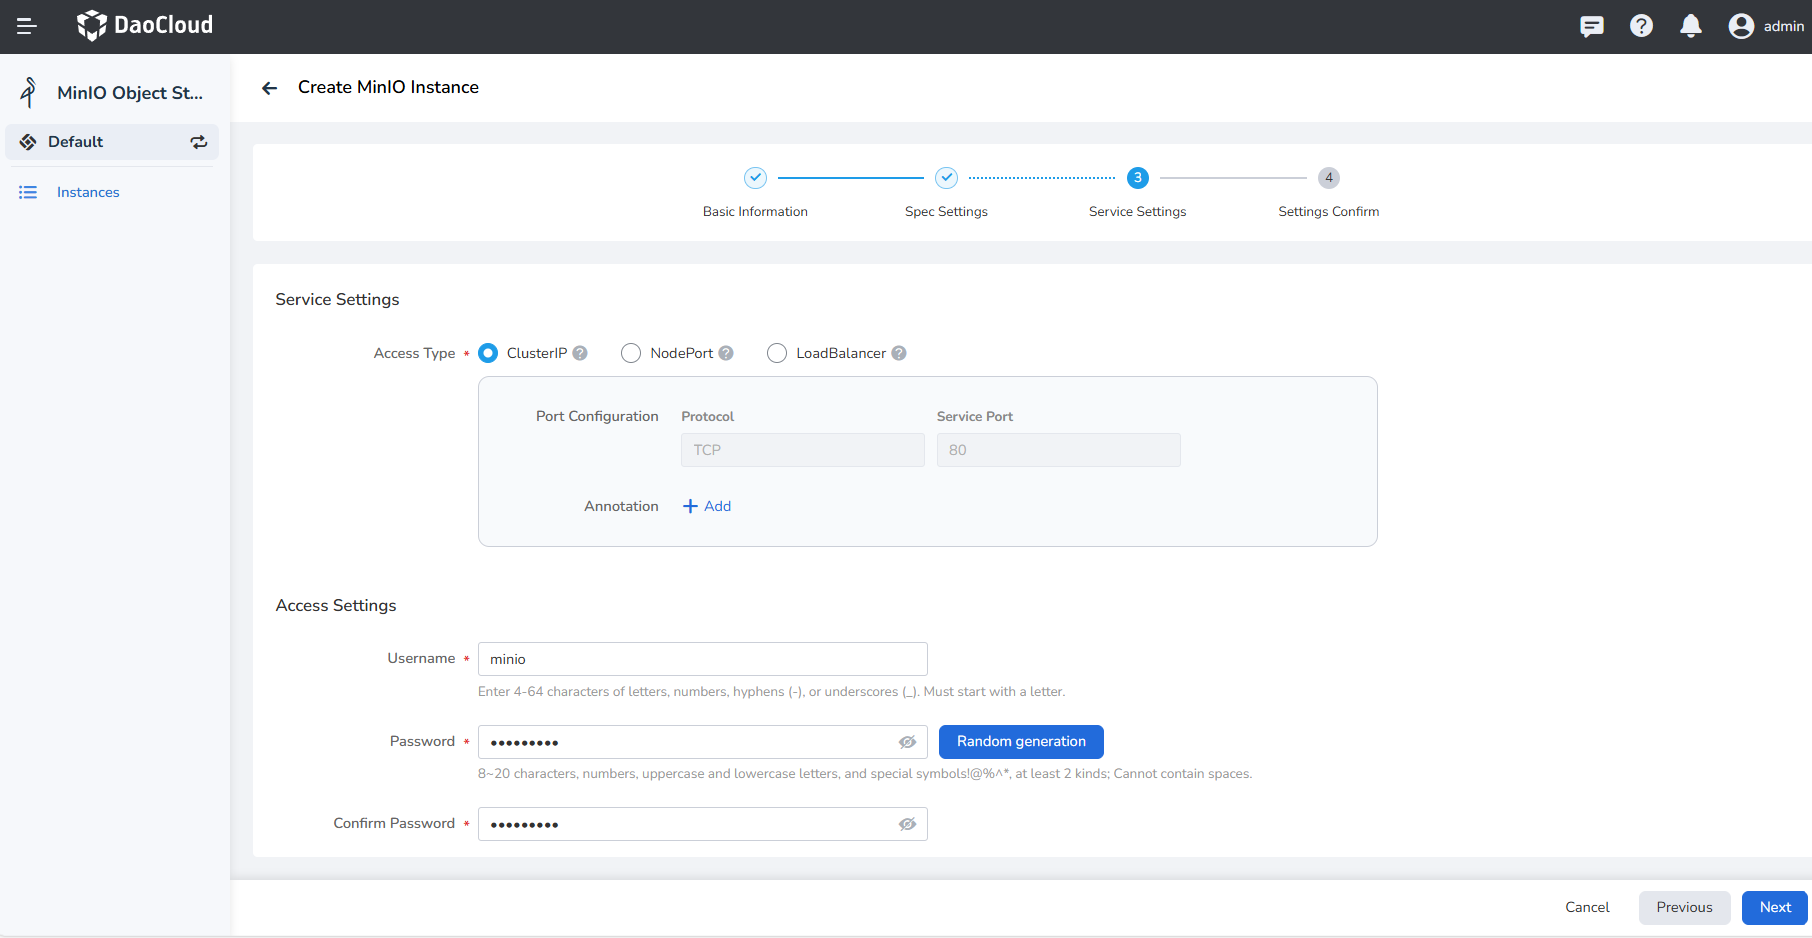
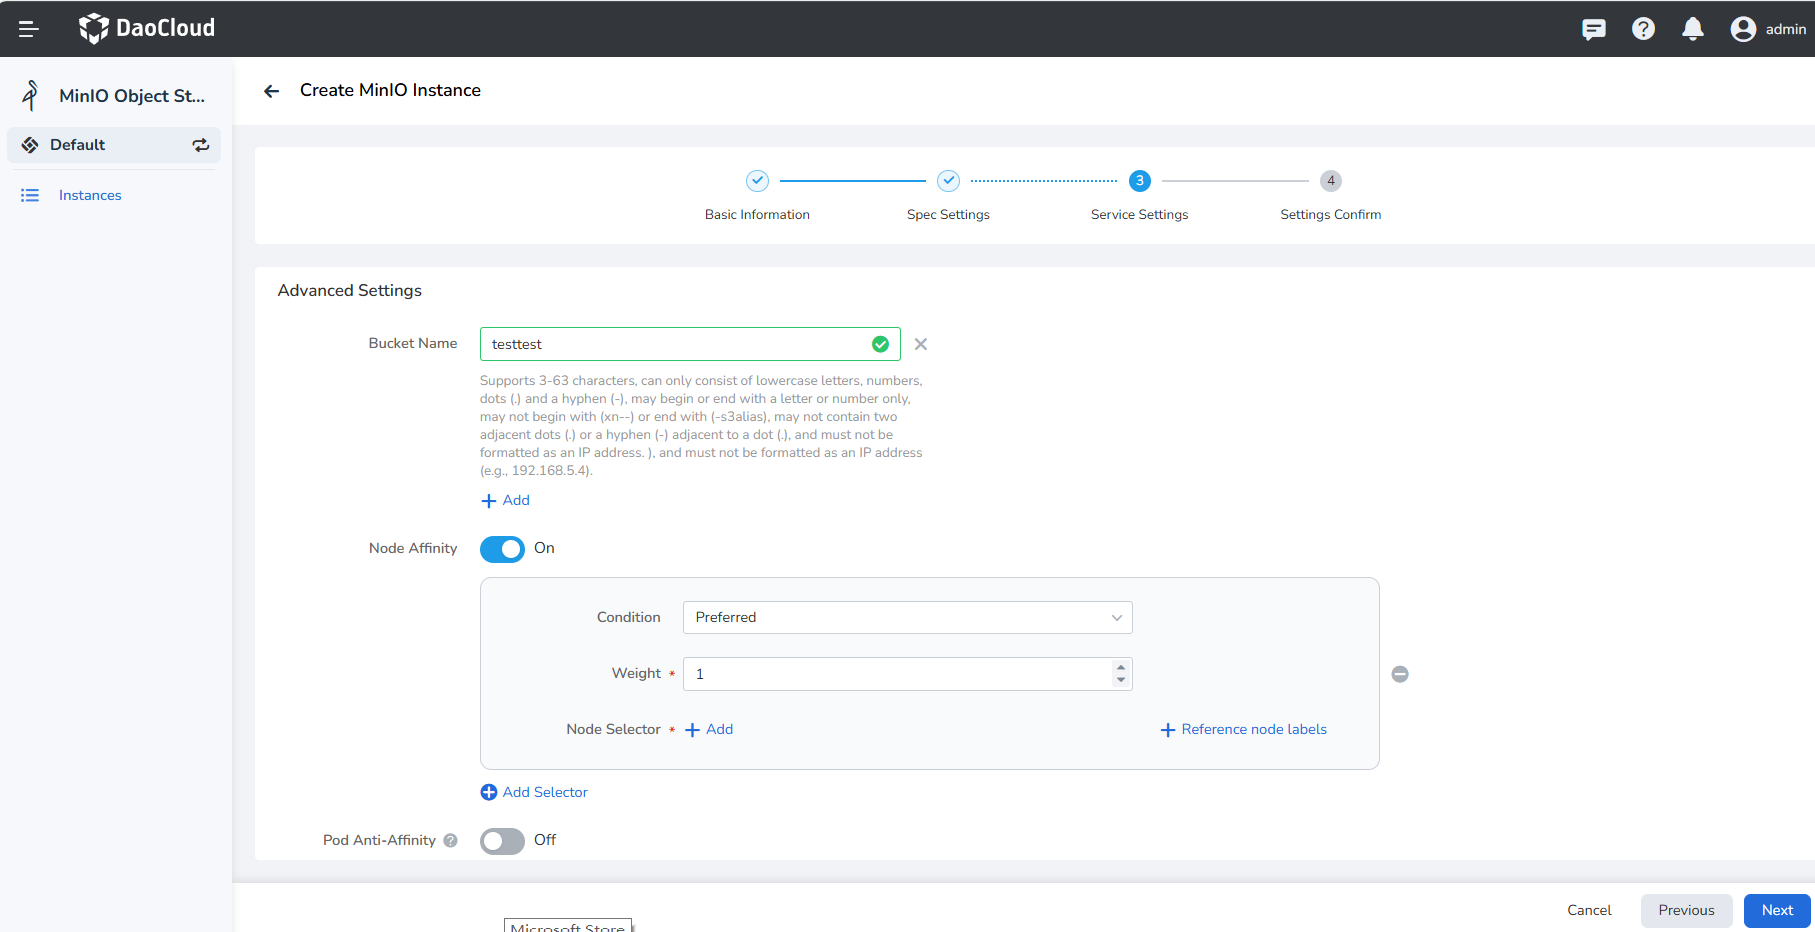
Fill in the service settings with reference to the information below, and click Next .
- ClusterIP: services can only be accessed within the same cluster.
- NodePort: services can be accessed through node IP and static ports, and support access to services from outside the cluster.
- LoadBalancer indicates using the cloud service provider's load balancer to make the service publicly accessible
-
Load Balancer/External Traffic Policy: Specifies whether the service routes external traffic to node-local or cluster-wide breakpoints
- Cluster: Traffic can be forwarded to Pods on other nodes in the cluster
- Local: Traffic can only be forwarded to Pods on this node
-
Console account: the username and password needed to access this newly created instance
Click to view advanced configuration instructions
- Bucket Name: create a new bucket under this instance, and set the name of the new bucket.
-
Scheduling policy/condition: set the node affinity of Pod scheduling, refer to the official Kubernetes document node affinity.
- Preferred: try to schedule to the nodes that meet the rules first. Pod scheduling is also performed if no matching node is found
- Required: Pod scheduling is only performed when a node satisfying the rules is found
-
Scheduling strategy/weight: Set weights for nodes that meet each scheduling strategy, preferably using a strategy with a high weight. Value range 1 to 100
-
Scheduling strategy/selector
- In: The node must contain the selected label, and the value of the label must belong to a set of values. Multiple values are separated by ;
- NotIn: The node must contain the selected label, and the value of the label must **not belong to a value set. Multiple values are separated by ;
- Exists: It is enough for the node to contain a certain label, and do not pay attention to the specific value of the label
- DoesNotExists: The node does not contain a certain label, and does not pay attention to the specific value of the label
- Gt: The node must contain a certain label, and the value of the label must be greater than a certain integer
- Lt: The node must contain a certain label, and the value of the label must be less than a certain integer
-
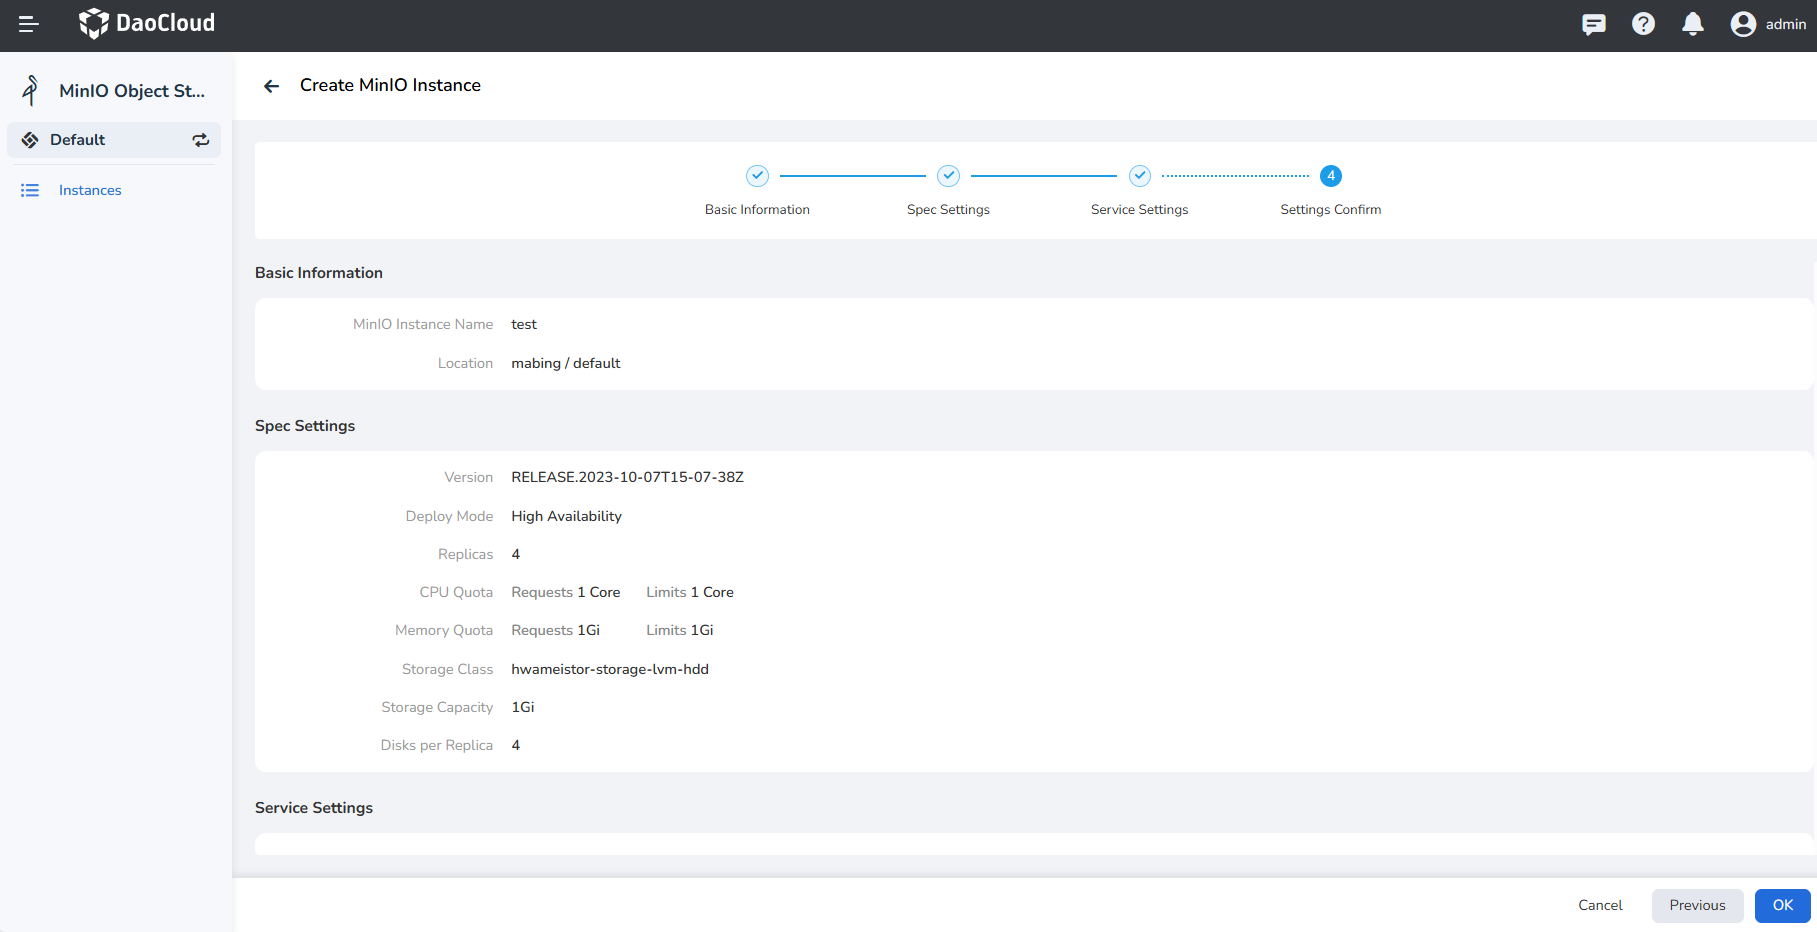
Confirm that the instance configuration information is correct, and click OK to complete the creation.
-
Return to the instance list page to check whether the instance is successfully created.
The status of the newly created instance is Not Ready , and the status becomes Running after all related containers are successfully started.
